 Skip to content

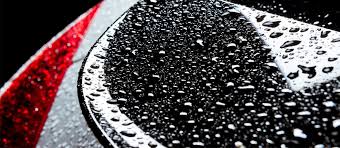
Water spots are like acne. It doesn’t matter if you have some or a ton, the embarrassment associated with them both is unmistakably strong.
Like acne, water spots go beyond being an aesthetic embarrassment, as they too leave lasting scars. While their visually unappealing presence is the first thing people tend to notice, the marring they leave behind is even more unappealing.
Things like clear coat etching and ‘spider webbing’ scratches are a constant concern with water spots, as every year automobile owners spend billions of dollars on car care products, many of which are specifically designed to negate the risks associated with water spots.
Whether it’s the old ‘elbow grease and sweat-equity’ approach, or routinely applying a detailing spray to remove hard water remnants, keeping a daily driver devoid of water spots is a constant battle.
This has led quite a few enterprising minds to look toward straightforward, cost-effective solutions to removing unsightly water spots. mprove the look of your car but can improve resale value.
In this article, we’ll identify the most common kinds of water spots and their root causes, as well as a few proven methods for removing them from a hard surface. Avoiding evaporated water is damn near impossible, so we might as well make its removal as pain-free as possible.
The 3 Stages of Water Spots

Photo Credit: Puget Sound M.A.R.S./Facebook
To the untrained eye, all water spots appear to be cut from the same crud, when in actuality, they are just as unique as the person fretting over there presence. Generally speaking, there are three major types of water spots, all of which are caused by different sources.
Everything from dried-up mineral deposit remnants within a garden hose, to acid rain infusing itself into a clear coat, or road salt etching into glass surfaces, the root cause of a water spot can be a complicated affair. This is one of the primary reasons why the automotive detailing community tends to categorize water spots as fitting into the following three stages.
Stage 1 Water Spots

Photo Credit: Wilson Auto Detailing/YouTube
By this point, you’ve surely heard of the dreaded “hard water spot.” Whether it’s embedded on your shower door, or trickling down your car’s paintwork, hard water stains are as commonplace as H2O itself. Commonly caused by high levels of minerals like calcium and magnesium, this car wash contaminant is more of a water source issue than anything else.
Spots develop when this mineral-rich, hard water dries, leaving behind the residue that was encapsulated within the liquid itself. Stage I hard water spots can also be caused by rain that has become compromised by contaminants like airborne sand, pollution, and pollen.
Quick Nerd Note: Within the automotive detailing community, Stage I water spots are also referred to as a “regular water spots.” In most cases, these spots can be removed by rewashing the vehicle and then using ultra-plush microfiber towels to rapidly dry all of its surfaces.
Stage 2 Water Spots

Photo Credit: Next Generation Detailing, LLC/Facebook
The second type of water spot is called a Stage II, or “bonded mineral” water deposit. While this kind of water stain is also caused by contaminants or excessively hard water, the difference is that a Stage II water spot has been given ample time to more permanently “bond” with the painted surface’s clear coat.
Quick Tip: Removal of a Stage II water spot often requires the leveling of the paint’s protective clear coat via the use of a hand-held rotary polishing tool and various cutting/polishing compounds. A clay bar/mitt/towel can also be used to remove certain Stage II water stains, a topic that we will discuss a little later on in this article.
Stage 3 Water Spots

Photo Credit: Pan The Organizer/YouTube
When your car is impacted by Stage III water spots, you are dealing with what is called “etched-in” water stains. Like your drunk uncle at an open bar during a wedding reception, this is one of those scenarios that will require some forceful removal methods and a bit of patience.
This type of hard water spot tends to look like a faded portion of clear coat, and is most prone to occurring on older, single-stage paint jobs that do not use hard clear coatings.
On the bright side, like all water spots, Stage III H2O stains are limited in that they cannot surpass the clear coat. This means they can be eliminated with many of the same paint correction techniques utilized during a Stage II water spot removal operation.
4 Ways to Remove Water Spots From a Car

Now that we’ve discussed the different grades of water spot, it’s time that we discuss their removal. There are four proven methods for removing hard water spots that professional detailers recommend, with each of the subsequent methods listed below becoming gradually more intensive.
1. The Two-Buckets-and-a-Beer Approach

Starting things off is the super-chill, two-buckets-and-a-beer method, which oftentimes is the best way of removing Stage I water sports. Just don’t forget to follow-up with a thorough toweling-off with an ultra absorbent microfiber drying towel, as it will help prevent those pesky mineral rich deposits from resurfacing.
Here’s a general overview of what this process entails…
Required Two-Bucket Car Wash Supplies
To complete a two-bucket wash, you’ll need to source the following supplies.
- (3) Wash buckets (You’ll use one of these buckets to wash the wheels and tires, and the other two to wash the rest of the vehicle.)
- (2) Microfiber wash mitts (One will be used exclusively on the wheels and tires, the other will be used to scrub all other surfaces.)
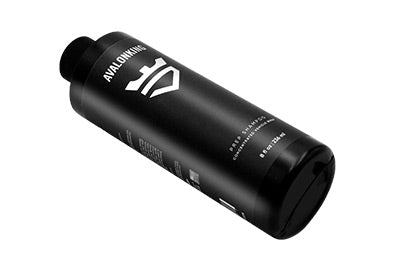
- (1) Bottle of low pH automotive shampoo
- (5) Microfiber towels for drying and hand polishing
Rinse the Vehicle
The first step is to blast the entire vehicle with water. this not only dislodges any surface debris, but it also provides a pre-lubricated surface for your wash mitt to glide over.
Wash Your Wheels
Before washing your vehicle, it’s important to first scrub and rinse the wheels and tires. A vehicle’s rollers often come loaded with brake dust, which essentially consists of millions of microscopic metallic and ceramic particles. Brake dust is notorious for embedding into paint and causing scratches, so blasting this stuff away prior to scrubbing any nearby painted surfaces is crucial to your success.
Wash One Panel at a Time
You’ll want to scrub and rinse one section at a time using the two-bucket method, where you dunk your dirty mitt in water before reloading it with the sudsy H20 contained within the other. Here, it is important remember to re-spray each section with water as you go, as it will keep things properly lubricated and prevent water spots from prematurely forming.
Dry as Quickly as Possible
When you are done scrubbing, thoroughly drying the entire vehicle as quickly as possible with a fluffy microfiber cloth will significantly reduce the risk of reoccurring water spots. This is especially true when a high-quality microfiber towel is used, as they absorb moisture at a far more rapid rate, and are not nearly as prone to drips as traditional cotton cloths.
Quick Tip: Want to go even more in-depth, and learn more about the two-buckets-and-a-beer car wash approach? Check out our article on the subject here.
2. The White Vinegar Wash

Another simple, yet effective way of removing water spots (Stage I and milder Stage II stains), is to complete a distilled white vinegar wipe-down.
Also known as a “vinegar bath,” this method takes your garden variety white vinegar, and blends it with equal amounts of distilled water. However, we tend to dislike using the word “bath” when referring to this method, as it is more of a vinegar “shower” than a full-blown soak.
- After completing a thorough two-bucket wash, and toweling-off the vehicle, apply the pungent vinegar solution to surfaces with a spray bottle, wiping it away after a few seconds with a clean microfiber cloth.
- Stubborn water stains may require a few rounds of vinegar wipe-downs, with 30-45 second periods of soak time being implemented in between spraying and wiping.
- It is best to spray a small section at a time (like 2-foot-by-2-foot sections). Let the solution soak for about 30 seconds, then wipe clean with a microfiber cloth or towel. It’s best to only do this (2) times, as embedded water spots will not be removed this way.
Quick Nerd Note: Beware. If vinegar is allowed to sit for too long on a painted surface, it will begin to eat into the clear coat. Avoid direct sunlight and high-temp situations at all costs.
3. The Clay Decontamination Treatment

Photo Credit: LaCuraDellAuto.it/Facebook
The next progression for removing water spots is with a clay bar treatment. Commonly referred to as “claying,” this approach utilizes a synthetic, putty-like bar, or a hybridized mitt or cloth to remove contaminants from a vehicle’s exterior surfaces. Claying should only be attempted after the two-bucket washing method and white vinegar wipe-down prove to be ineffective.
Required Car Claying Supplies
- (1) Bottle of claying lubricant (you can buy or blend your own)
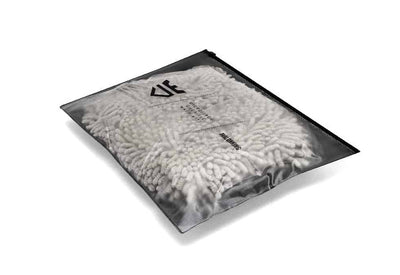
- (1) Clay bar/mitt/towel
- (5) Microfiber towels for drying and hand polishing
Lube-up Your Automobile
After spraying the entire vehicle down with water, apply some lubricant spray solution directly to the section of the vehicle that you plan on claying. Applying some lube on the clay tool you plan on using is never a bad idea either, as it will make the contaminant removal process all the smoother.
Clay It Like You Mean It
Once you got her all lubed-up, rub the clay bar in a back-and-forth motion, always following the lines of the vehicle. Regardless as to whether you have selected a bar, mitt, or cloth, all automotive claying products are designed to contour to the surface of the vehicle, so try and hit every square centimeter of surface area. Just make sure that you NEVER clay in a circular method, for this can damage the clear coat.
Rinse That Mess Off
Once a body panel or portion of the vehicle has been clayed, and the bar slides effortlessly over the surface (it will be a battle at first, as it collects impurities), rinse the area off and move on to the next section.
Dry and Inspect
Once all surfaces have been lubricated, clayed, and rinsed, go over the entire vehicle with a fresh microfiber drying towel, or a series of microfiber polishing cloths, and inspect all of the surfaces for stubborn water spots.
Quick Tip: Here at AvalonKing, we prefer using clay mitts and towels over traditional clay bars. While they are all engineered to do the same thing, clay mitts and towels are reusable, and unlike clay bars, can be rinsed-off and reused if they hit the ground or get contaminated in some way. For more claying tips and insights, check out our article on the art of claying a car.
5. Paint Correction

This final method should only be implemented if all of the techniques listed above have failed to remove the water spots. Paint correction, or polishing, is typically reserved for only the most severe forms of clear coat and paint damage, as it requires the use of polishing power tools and abrasive cutting compounds.
Required Paint Correction Supplies
- (1) Adjustable polishing tool or drill with polishing attachments
- (1) Paint correction kit
- (1) Automotive painter’s tape
- (5) Microfiber cloths for polishing
Prep Every Panel With Passion
Once the three previously mentioned water spot removal methods have proved fruitless, break-out the painter’s tape and tape-off any area of the vehicle you don’t want to see polished with the buffing wheel.
Apply Cutting Compound With Conviction
Using an applicator pad or clean microfiber cloth, apply a small amount of the compound to one portion of the vehicle, until the entire panel or area has ben covered.
Spread That Shit Thin FTW
For optimal results, you will want to spread the cutting compound thin, as too much of this abrasive media will only create excessive waste and potentially hamper completion times.
Rub It… Rub It Real Good…
Using the polishing power tool of your choosing, attach a microfiber polishing pad to its business end, and get to rubbing the compound into the clear coat. While applying even amounts of pressure, move the polishing pad across the surface, first in an up-and-down method, and then in a left-to-right pattern, until every portion of the panel has been polished.
Towel-Off and Move On
Once the panel or portion of the vehicle you are focusing on has been thoroughly polished, towel it off with a clean microfiber cloth, before moving on to the next section. Repeat all of the steps above, until the entire vehicle has been completely polished, and no water spots remain.
Quick Tip: For as daunting as it may sound, basic paint correction is a fairly straightforward process. As our blog article focusing on the subject of paint correction illustrates, this is more of a time consuming and tedious task than a technically challenging endeavor.
How to Prevent Water Spots

Photo Credit: Wilson Auto Detailing/YouTube
Although there are a multitude of methods one can take to keep their vehicle devoid of moisture, there are four commonly recognized approaches that do the best job of reducing common hard water spots.
1. Always Use the Two-Bucket Wash Method
Utilizing the two-bucket method every two weeks, and NEVER allowing your vehicle to air dry or bake in the sun during a wash will eliminate most forms of Stage I hard water stain.
2. Microfiber All the Things
Not only does a clean microfiber towel dry vehicle surfaces quickly, but the really plush stuff will not create clear coat scratches, and will lift invisible contaminants. If you want to go the extra kilometer, you can always opt to first hit your freshly rinsed vehicle with some compressed air or a leaf blower to reduce water mark drips and the risk of surface scratches.
3. Skip the Sprinklers and Questionable H2O
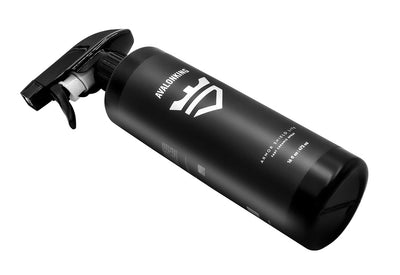
Sprinklers and other forms of irrigation device are notorious for using the grimiest water on the grid, so parking your vehicle well away from an area that sees routine plant watering is always a great prevention method. If for some reason you know that you’ve come into contact with some questionable H2O, break-out some quick detailing spray and a microfiber cloth and decontaminate the soiled section as soon as possible.
4. Apply a Protective Paint Coating
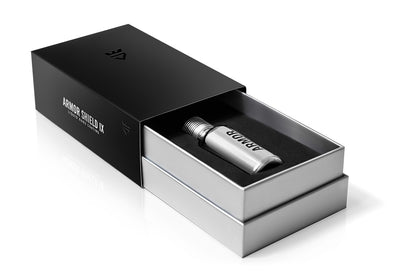
Applying a 9H-rated nano ceramic coating to a vehicle may not stop water spots from forming, but they do provide some serious water-repelling properties, which keeps the crud within that H2O from drying on the surface.
The reason for this is because nano ceramic coatings possess moisture wicking “hydrophobic” properties, which once fully cured, make it difficult for contaminants to adhere to them.
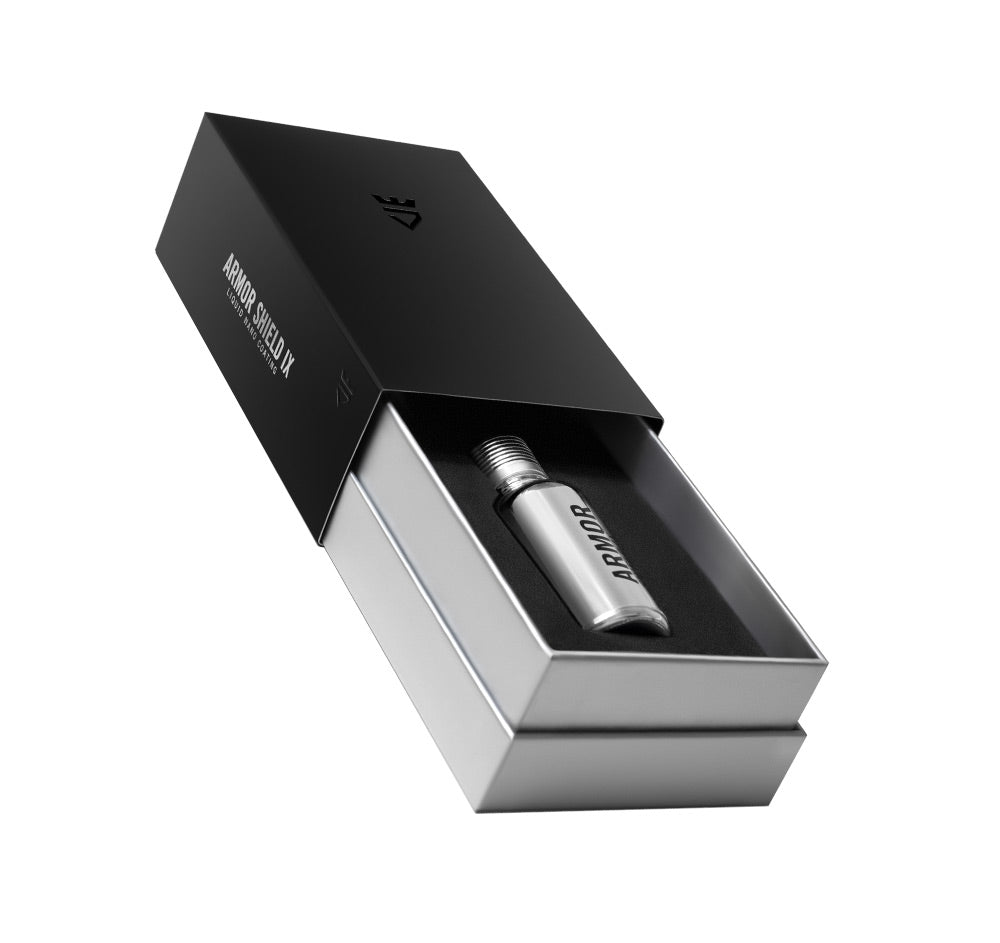
However, even with a ceramic coating installed, you will still need to routinely wash and dry your vehicle. On the bright side, Armor Shield IX does make the car washing process much faster, as contaminant removal is far easier.
Parting Shots
So while discovering water spots on your freshly cleaned clear coat does indeed suck, understanding how to remove and reduce their impact should offer some solace. Protecting a painted surface from water spots boils down to following the appropriate procedures, procuring the proper cleaning supplies, and acting quickly.
By remaining proactive, and installing a high-quality DIY nano ceramic coating product like Armor Shield IX, water spots will become far less of a concern, and more of a mild annoyance. An annoyance that can be easily wiped-away, instead of having to be buffed-out every time.

2 comments
Don Alvine
I applied Armor Shield to my C8 late summer when it arrived. I don’t see a water spot remover on the site but I followed the directions with the clay bar and am waiting for CARPPRO spotless which sounds like the best alternative after studying for days. What do you recommend for a topper after I put that on and get it off? I don’t see a topper on your site.
I applied Armor Shield to my C8 late summer when it arrived. I don’t see a water spot remover on the site but I followed the directions with the clay bar and am waiting for CARPPRO spotless which sounds like the best alternative after studying for days. What do you recommend for a topper after I put that on and get it off? I don’t see a topper on your site.
Ted Cobarruvias
I’ve been carnuba wax guy for 40 some years and looking to get with the times. I had my 91 Toyota ex-cab 4×4 wrapped with 3m vinyl and am anxious to coat it with my T3 nanoskin ceramic coating. I am working g out the Damn spots. I used to use Simoniz clay as it was sorter and produced the clean surface needed for optimum shine. . Thank you for the tutorial. I am proud of my truck and wish to keep it looking as good as possible for years to come.
I’ve been carnuba wax guy for 40 some years and looking to get with the times. I had my 91 Toyota ex-cab 4×4 wrapped with 3m vinyl and am anxious to coat it with my T3 nanoskin ceramic coating. I am working g out the Damn spots. I used to use Simoniz clay as it was sorter and produced the clean surface needed for optimum shine. . Thank you for the tutorial. I am proud of my truck and wish to keep it looking as good as possible for years to come.