 Skip to content

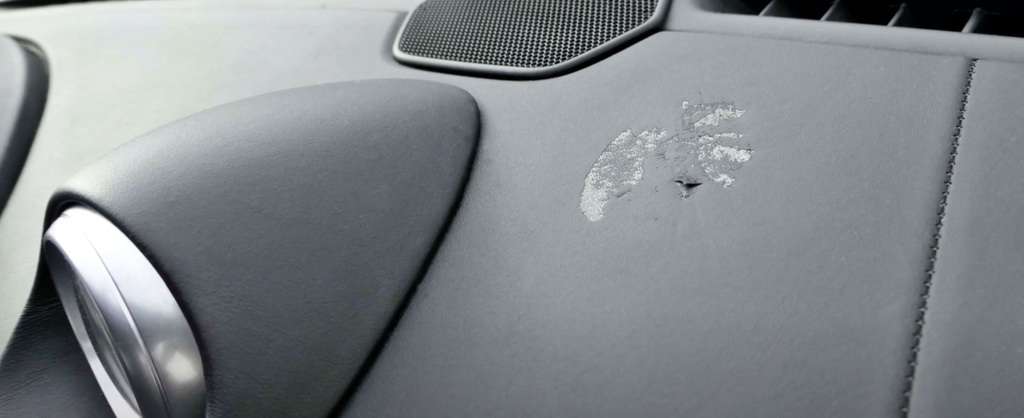
Dogs love cars. That’s no secret. But despite their uninhibited infatuation with automobiles, the average canine doesn’t have a “lick of sense” when it comes to car ride etiquette. A brief cruise around town with your favorite companion will often leave your vehicle’s interior coated in a fine layer of fur, or worse yet, adorned with a deep scratch across the dashboard.
Regardless as to whether you have vinyl, wood, plastic, metal, leather, or a synthetic material like Ultrasuede stretched across your car dashboard, the risk of damage remains a very real threat. So what can be done to remove or hide a car dashboard scuff mark or scratch? Well, that all depends upon what sort of dashboard you have, the type of damage that’s been done, and how committed you are to that car interior.
Reasons for Removing Scratches From Your Car’s Dashboard

In order to combat these superficial, yet utterly embarrassing aesthetic issues, one must first understand that leaving these maladies in place will only hurt a vehicle in the long run. Leaving scratches strewn across a car’s dashboard is like allowing a high end cutting board to sit without oiling or resurfacing. It’s probably not going to ruin the integrity of the surface area, but it’s not going to look good, and over time it may get worse. Gouges in a car’s dashboard have been known to discolor and form hairline cracks if not attended to, thus turning a fixable issue into an expensive headache.
Speaking of costs. Do you know what happens to your car’s resale value if there’s a sizable scratch or two across the dashboard? While quotes from resources will vary greatly depending upon whether you have scratches in plastic, wood, metal, vinyl, leather, or another material, they all share one thing in common. Car dashboard scratches depreciate your vehicle’s value.

Regardless, as to whether the scratch was formed by a poorly placed purse, some form of electronic entertainment device, or that beloved pooch, the fact remains that a scuff mark across one of the most visible portions of your vehicle is not good. And unlike a vehicle’s exterior, where swirl marks and the random light scratch in the clear coat can be easily buffed-out by a beginner with a little elbow grease, removing scratches from a car dashboard requires a bit more preparation and research.
Is there a way to prevent scratches in the average vinyl dashboard? Absolutely. From interior wax and protectants, to going all-in on a ceramic coat, adding a protective layer to a car dashboard is never a bad idea. You can also invest in a dash cover, just be sure to confirm that it will contour to your dashboard and read reviews before committing to a purchase.
Best Tools and Materials for Removing Scratches on a Plastic or Vinyl Dashboard
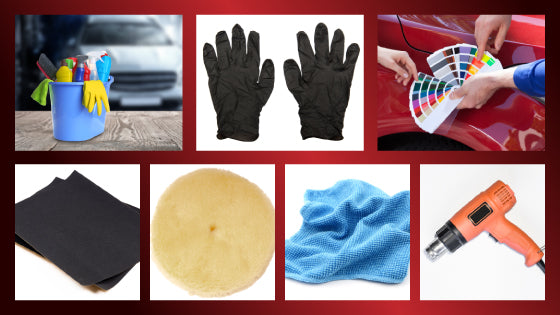
Like any DIY project, one must first have the appropriate tools on hand before getting down to business. Whereas external automotive projects like clear coat paint protection have their own list of necessary materials, so too does dashboard repair. Forget using a magic eraser or baking soda. For a superficial scratch on a black plastic or vinyl car dashboard, chances are you can get away with using a product like Meguiar’s Ultimate Black Plastic Restorer and a microfiber cloth. But for deep scratches on your car’s interior, you will need to forego the off-the-shelf approach, and source the following items prior to “surgery.”
Materials to use when removing scratches on a vinyl or plastic car dashboard
- Interior Car Cleaner- While rubbing alcohol works in a pinch, using a concentrated, highly reviewed cleaning product will often do a better job. A product with a spray bottle is particularly useful, as it will help dislodge any dirt or debris that may be ingrained in the scratch.
- Heat Gun or Hair Dryer- This will help make the plastic or vinyl supple enough that it can be re-shaped.
- Fine Grit Sandpaper- For cleaning imperfections and then fine-blending afterward
- Textured Automotive Finishing/Grain Pads- For resurfacing “leather-like” vinyl so that the altered area matches its surroundings. There are tons of finishes and patterns out there, so take your time and get one that closest resembles the damaged plastic or vinyl component in your car.
- Lint-free Gloves- Burns are no fun, and the oils in your skin may compromise the dashboard, so get some thick nitrile gloves to protect yourself and your car’s dashboard.
- Color-matched Paint- Interior plastic discoloration occasionally happens. Paint is how you remedy this issue.
- Cleaning Cloth- You are going to need to clean-up with something, so it might as well be a damp cloth made from microfiber.
Materials to avoid when removing scratches on a car dashboard

- Household Cleaners- These products are typically not designed for automotive use, and may discolor dashboard materials.
- Blow Torch- You want to warm-up your dashboard before remolding it, not burn it to a crisp.
- Coarse Sandpaper- Rough grit sandpaper will only make your dash more marred than it already is, so stick with the slow and smooth approach.
- Low-temp Finishing Media- A finishing media that cannot handle high temps will only melt into your dash, causing a whole new DIY project to surface.
- Spray Paint- Unlike the easily controlled brush and bottle approach, spray paint gets everywhere, so avoid this option at all costs.
How to Remove Scratches From a Vinyl Dashboard

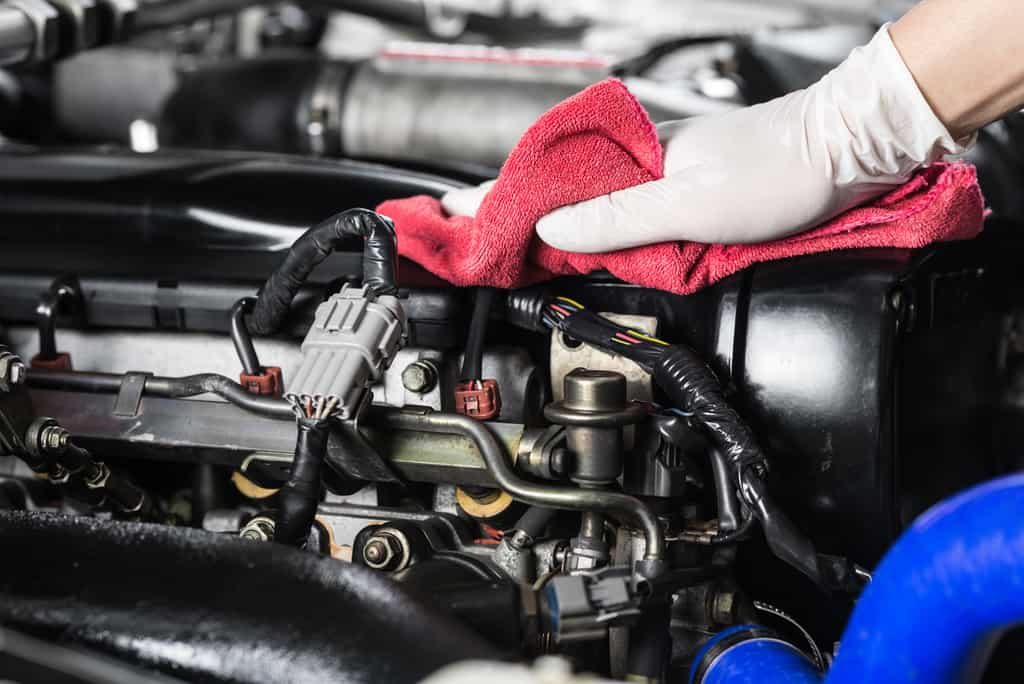
Step 1: Clean Thoroughly
Regardless of what material you are dealing with, or whether or not it has a protective layer on it like ceramic coating, the first step to any aesthetic automotive project should always be a thorough cleaning. A wipe-down with some interior cleaner spray and a microfiber cloth will help ensure a smooth finish and will prevent discoloration from occurring in the following stages. Once the surface area you are focusing on is devoid of dirt, dust, and debris, and is completely dry, you can proceed with smoothing-out the area surrounding the scratch.
Step 2: Shave and Smooth
As a scratch forms, the material it rips out tends to follow the path of least resistance, so chances are that gouge has little ridges of plastic or vinyl resting on either side of it. Gently grind this excess down with fine grit sandpaper, or if the ridge is quite large, carefully shave it off with a razor blade or an exacto knife. If going this second route, always be sure to slice parallel to the dashboard, and keep a steady hand at all times to avoid further damaging your car’s interior. Once the big stuff is cut away, break-out that fine-grit sandpaper, and get the edges of that gouge as flush as possible, all while keeping the sandpaper hyper-focused on the area needing resurfacing.
Step 3: Fire It Up!
With your heat gun set to half power (or a hair dryer on full blast), carefully apply heat to the damaged vinyl area until it begins to soften to the touch. Be careful to not overheat what you intend to fix, as plastic and vinyl are quick to warp. Once the vinyl dashboard loses its dimpled, leather-like texture, and starts to become glossy, you are ready to move on to the next stage.
Step 4: Texture Time
While the surface is still warm, lightly press the textured finishing pad to the damaged area. With a little luck, this pressure will force the inside edges of the scratch together, while adding a textured outer surface to the plastic or vinyl that will match the rest of the dashboard.
Step 5: Chill Out, Wait a Sec, and Inspect
It’s important to let the area cool and harden before moving on to the final stage. By this point the scratch will no longer be as visible, and in its place there should be a repaired area with a texture similar to that of its surroundings. While you wait, give the repaired area a close inspection in order to determine whether or not it requires further heat treatment and/or texturing.
Step 6: Clean-up, Paint, and Coat
Once the repaired car dashboard is completely cool, it’s time for a final once-over with some superfine sandpaper to remove any lingering imperfections. Repeating this step will guarantee that your car dashboard is all the same shape and smooth to the touch. You will occasionally find a fine layer of debris spread around a repaired vinyl or plastic scratch, and this final step will help remove these contaminants. Sanding complete, it is time for a quick wipe-down with rubbing alcohol or automotive interior cleaner, and if deemed necessary, a few dabs of paint. After that, all that needs to be added is an outer clear coat and that dash will be as good as new.
How to Remove Scratches From a Leather Dashboard
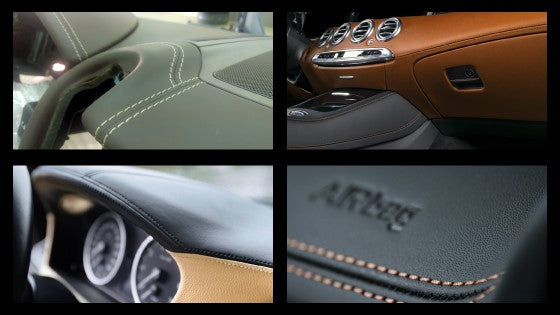
Unlike plastic, vinyl, or damage to a car’s paintwork, removing a car scratch from a leather dashboard presents its own unique set of challenges. If you are lucky, and the scratch is more of a superficial scuff mark, a quick once-over with a microfiber towel and an automotive leather restoration wax or spray should be sufficient. However, if the scrape is more than surface deep, basic leather restoration tips go out the window, and are replaced by more extreme measures.
In the past, car owners were forced to rely upon finicky patches and heating tools to hide the damages inflicted upon their leather dashboards, half of which worked poorly, if at all. Fortunately, companies like leather restoration specialist Fortivo recognized this issue, and redesigned the way in which we repair leather or leatherette. Foregoing heating elements entirely, and offering way more color options, these modern day repair marvels make leather dashboard repair easier than ever.
But even with these groundbreaking advancements, leather repair is still as tedious as any other form of upholstery work, and can require more time than the aforementioned vinyl dashboard fix. On the bright side, leather repair kits are surprisingly affordable, instructions are about as cut-and-dry as it gets, and in the case of Fortivo’s products, reviews are solid across the board.
Step 1- Clean Things Up
Wipe down the area you wish to repair and remove any visible debris or dirt with rubbing alcohol or an automotive approved leather cleaning product. In a motion that runs parallel to the dashboard, carefully cut-away any rough edges around the scratch with a razor blade or exacto knife.
Step 2- Color Match and Test
Being that the myriad of car dashboard colors go well beyond black and gray, leather repair kits offer an equally diverse array of color matching options. Just follow the instructions found within the color mixing guide and blend your selection with the supplied filler putty. Once a color that resembles that of your car’s dashboard has been created, apply a small amount to an inconspicuous area inside the vehicle. The underside of the glovebox or a lower portion of a door panel is usually a safe spot, just be sure to shine a flashlight on your test area once it dries to guarantee that you’ve got the right color match.
Step 3- Compound, Compress, and Brush
Using the supplied putty knife or application tube, gently apply compound filler onto the damaged surface area and fill in the scratch. Deep gouges may require you to insert a backing pad, which may or may not be possible depending upon the width and depth of the gouge. If it is possible to push a pad down into the scratch with the supplied tools, you will find it to be far easier to build-up a layer of filler compound. Once filled, you can spread the excess outer layer of filler around with a paintbrush to make the surface look uniform, before moving on to a few quick clean-up dabs with a paper towel.
Step 4- Let it Dry
While dry times vary depending upon temperature and amount of putty filler used, it is imperative that you follow the recommended dry time and not rush on to the next step. If you are in a hurry, the use of a hair dryer or heat gun on a low setting is acceptable just as long as you do not get the filling compound too hot.
Step 5- Buff it Out
Once dried, break-out a Q-tip and some rubbing alcohol, and rub the repaired area in a circular motion in order to smooth out the edges. This blending part of the process is crucial for getting a matched finish, so take your time, and always eyeball the putty repaired area before starting this step. If it looks like another layer of filler is necessary beforehand, now would be the time to repeat Steps 3 and 4.
Step 6- Polish and Protect
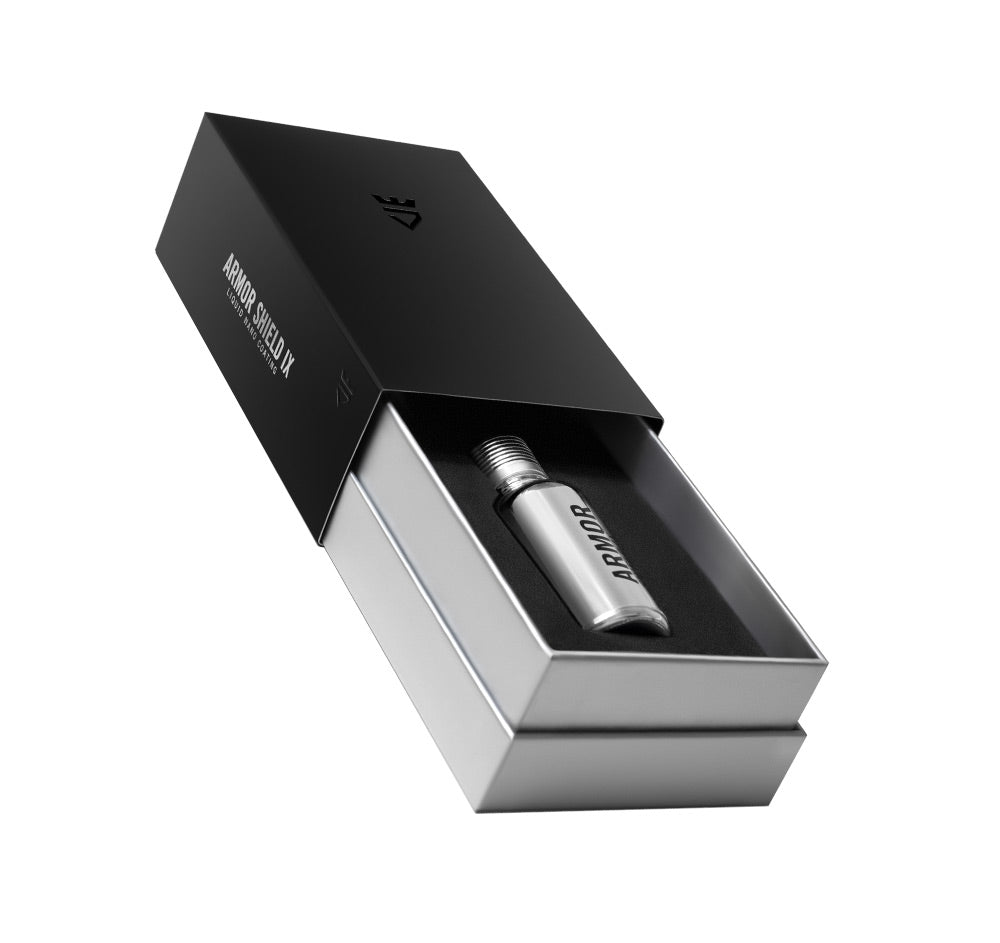
Ripped leather dashboard repair complete, we now turn toward protection. While throwing a slathering of leather wax at your vehicle’s interior is the most obvious choice, it isn’t always the best option. Opting to cover your car dashboard with a ceramic coating will not just help keep that dash looking new, but it will also protect it from scratches and future mishaps.

1 comment
w norman
sir
i have a honda cr-v 2006 mk2 i have quite a lot of light scratches on and
around the glove box area could you please recomend somthing to cover them.
regards w norman
sir
i have a honda cr-v 2006 mk2 i have quite a lot of light scratches on and
around the glove box area could you please recomend somthing to cover them.
regards w norman