Skip to content

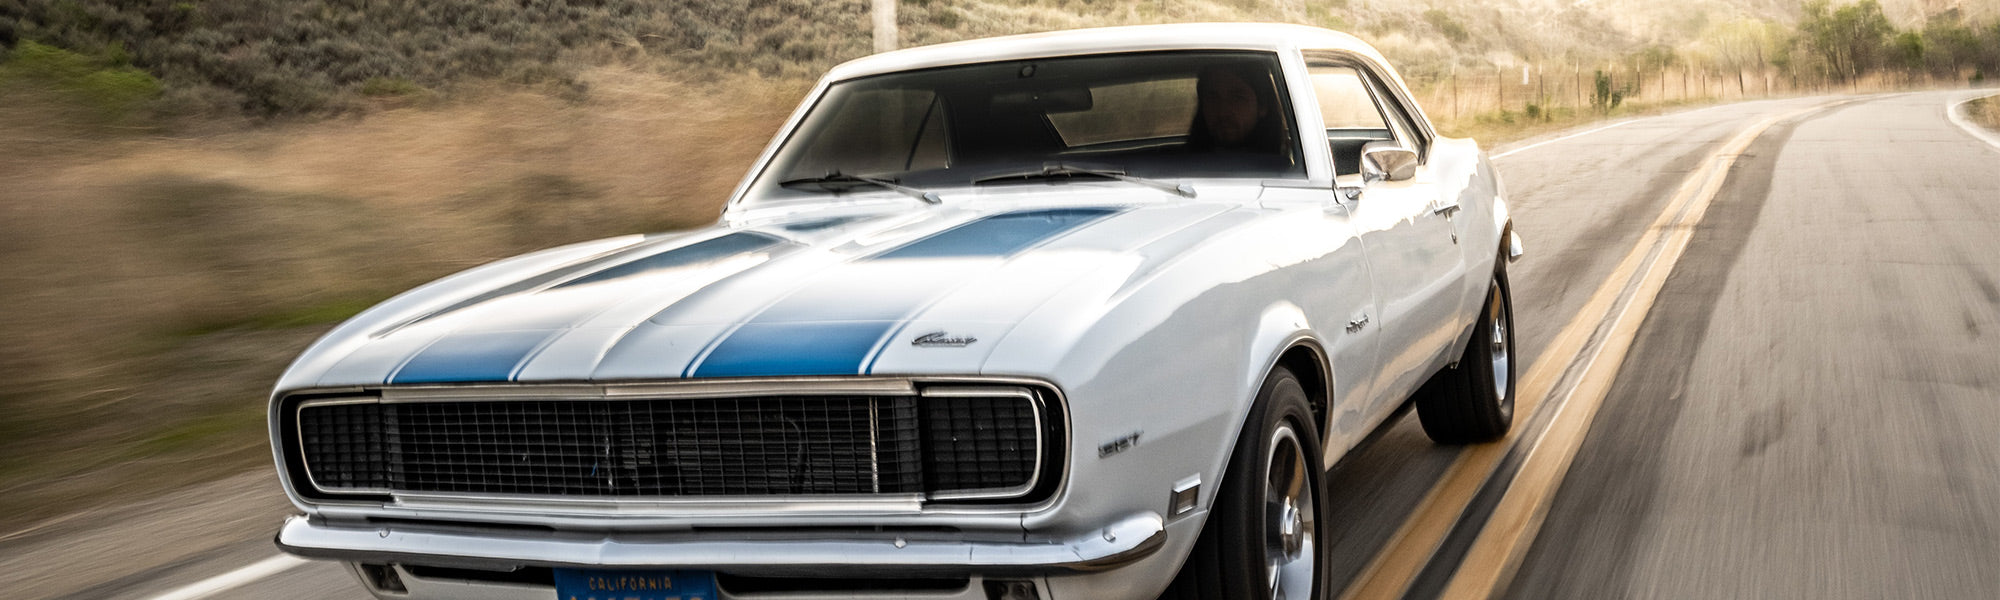
So, you’re driving through the woods on a single, lane road in the middle of the night – and suddenly a deer jumps in front of your ride. What do you do? Well, if you’re like most drivers, you crap your pants while slamming on the brakes to avoid a disaster. But, could this issue have been prevented – or at least reduced?
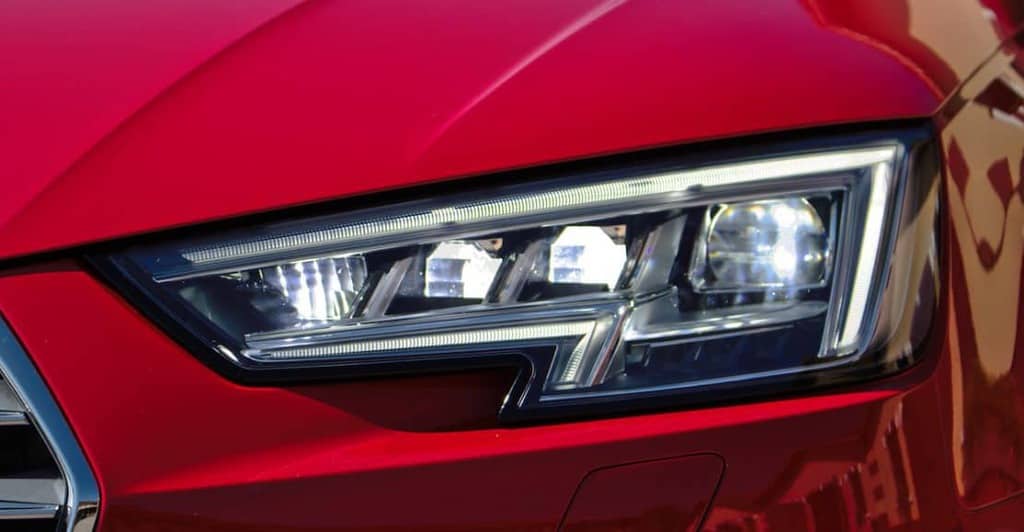
Some automotive safety experts suggest that having clean and fully functioning car headlights can provide much-needed illumination to avoid many common road-side accidents. And they’d be correct. The simple ability to clearly see images at night is a surefire method for avoiding many accidents – even those magically appearing out of nowhere deer.
To accomplish this, car owners need to either replace their headlights every few years or restore your headlights – specifically, removing the haze and crap that embeds onto a cheaply made headlight lens.

This is something that can easily be completed with some DIY skill, elbow grease, a headlight restoration kit or using several household products like baking soda and toothpaste.
That’s what we’ll discuss today. In the information below, we’ll outline a few of the most popular and easiest methods for cleaning headlights. We’ll also explain why this is so important and introduce a fairly simple and affordable way of protecting headlights from exposure to UV rays, contaminants and other crap that causes this frequent problem.
What Causes Headlights to Fog?

Plastic material and fogging
Sometime during the 1980s, automotive manufacturers decided to save consumer (and themselves) money by replacing the glass headlights with a cheaper plastic or polycarbonate plastic material. While they’re less likely to shatter and improve vehicle safety (slightly), they are more prone to becoming foggy or hazed.
Oxidation: Main reason for headlights to become foggy
There are several reasons why a headlight clouds up more frequently than in years past – but at the root, the source is our friend oxidation. We’ve talked a lot about oxidation in our paint fading article, however, the same concept occurs on headlight lamp covers.
Other contaminants and foggy headlights
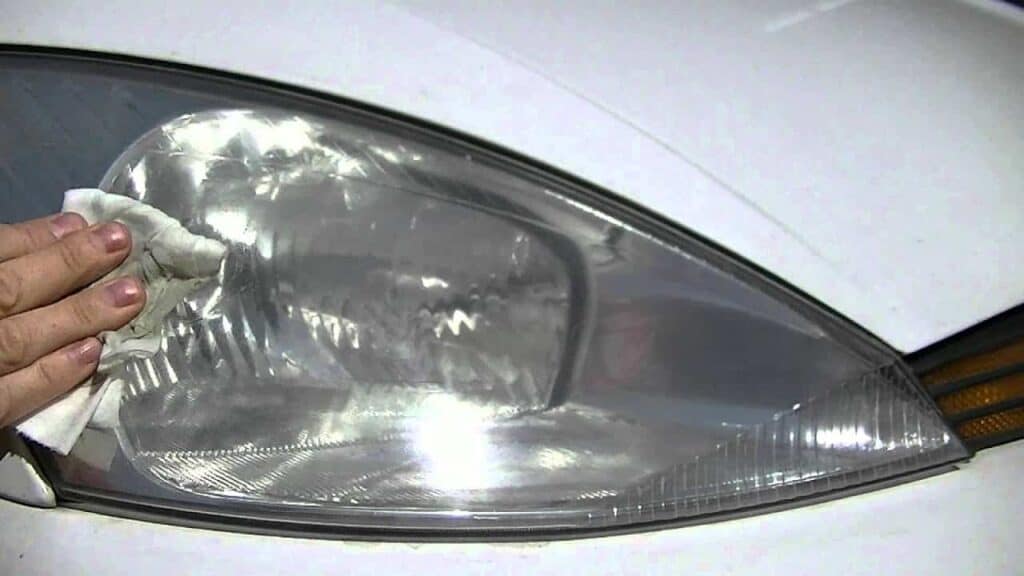
On polycarbonate or plastic headlight covers, road debris, salt, UV light, and other contaminants are the root sources of foggy headlights. As a headlight’s clarity begins to fade, it decreases visibility in the nighttime hours.
The good news is that most of the root sources of headlight cloudiness can be repaired. So, let’s discuss a few of the popular methods for DIY headlight cleaning.
Cleaning Headlights with Toothpaste
Kicking off our DIY headlight cleaning tips is the old, yet reliable toothpaste method. No, you’re not removing plaque and tartar build-up, but it’s pretty close to the same concept. Toothpaste is comprised of light-abrasive ingredients, that help to break up contaminants (like tartar and plaque on teeth). But what most people don’t know about toothpaste is that has anti-stain removal properties.
Here is how the process is completed:
Gather Your Supplies
To clean car headlights using toothpaste or baking soda, you’ll need a few supplies including:
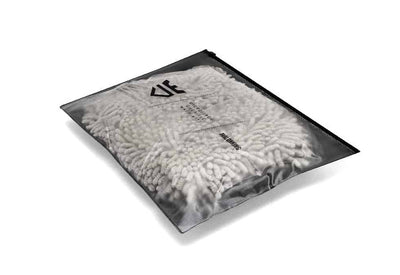
Protective Gloves, Masking or Paint Tape, Bucket of Fresh Water, A Microfiber Cloth (a few clean cloth products actually), and Toothpaste (any kind, but the best stuff to use is regular, non-flavored toothpaste. Don’t use the gel stuff, as it’s not as effective). You can insert baking soda if you wish, just don’t use dish soap to wash the headlights.
1. Clean Headlights with Soap
The first step of any DIY cleaning or restoration product is cleaning. For restoring headlights, begin by washing the complete area with automotive soap or shampoo, a wash mitt, and rinse with clean water. Dry the complete area using a microfiber towel.

2. Protect the Headlight Assembly with Tape
Once the entire section has been cleaned and dried, apply masking or painters tape around the headlight frame. Using toothpaste or other abrasive on the headlight is fine – but, frames made of chrome coated plastic or painted may become scratched. So – mask the area off before starting.
3. Begin the Restoration
Using a damp microfiber cloth, apply a dab of toothpaste on the cloth, and slowly yet firmly rub the surface of the headlights. It’s best to use a small circular pattern. Add water and toothpaste to the cloth and continue this process for at least five minutes on each headlight cover.
4. Rinse and Dry
Once you’ve completed the debris removal, rinse the area and fully dry the headlight cover. Once it’s dried, inspect the area and repeat the process once or twice again until they are as clean as they’ll get.
5. Apply a Protective Coating
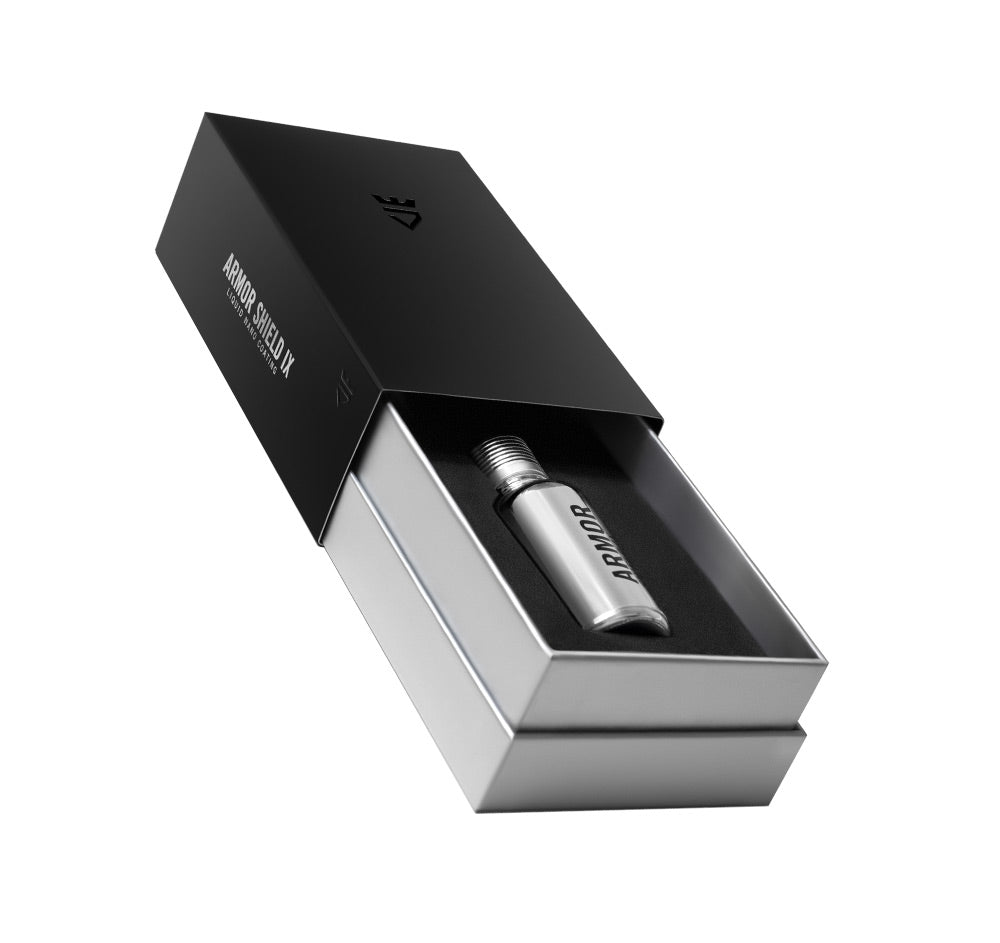
To reduce the potential of future damage, you should apply a coating of car wax or a ceramic coating to protect it from exposure to UV light, road grime, and other contaminants that cause this issue. Paste wax is best if you’re using automotive wax.
Cleaning Headlights with Glass Cleaner and Automotive Polish
The next common clear headlight restoration method is using a glass cleaner as a primary cleaner (mainly to loosen the debris) and then an automotive polish or cutting polish to remove the haze.
Here is how the process is completed:
Gather Your Supplies:
This DIY project will require automotive glass cleaner (preferably non-ammonia based), masking or paint tape, automotive polish or cutting polish, protective gloves, an electric or rotary buffer, microfiber polishing cloths, clean microfiber towel, and a bucket of water.
1. Prep the Surface Area:
Since you’re going to use a glass cleaner to remove debris, the first step here is to tape off the surrounding area of the headlight cover.
2. Spray Headlights with Glass Cleaner:
Spray the surface of the headlight with the glass cleaner – generously. Let it soak for a few seconds, then remove using a clean microfiber cloth. You can use the same microfiber cloth for other headlights for the glass cleaner step, but don’t use it on the same one again.
3. Apply the Polish:
You’re going to buff the headlight surface in this step. So, watch this video to review how to best complete this step. The video shows how to do it by hand, but you can also use the orbital polisher with more consistent results.
4. Rinse & Dry:
The final step is to rinse the surface of any excessive polish. Dry with a fresh microfiber towel and inspect. Repeat the step as needed, but only once or twice. Excessive damage to the surface may not be removed and will require replacement.
5. Protect with a Coating:
Just like the first method, it’s best to use some sort of protective coating on the freshly cleaned headlight cover. Car wax or ceramic coatings are the easiest and most cost-effective. With a car wax, you’ll have to reapply every few months. A ceramic coating, however, can last up to 3 years.
Cleaning Headlights with Sandpaper and Polish
If you’re looking for the most effective method for completing DIY headlight restoration, this one is likely the winner. For this one, you’ll remove the majority of the haze or foggy stuff with light grit sandpaper (from 600 to 3,000-grit), using a color sanding technique, then finishing it up with a polishing compound.
Using headlight restoration kit
In my opinion, the best way to accomplish this step is to purchase a headlight restoration kit. There are several, really good ones out there – and they’re pretty much using the same materials and techniques. The key with these kits or technique is using a progressive sanding process.
This video below is one of the best that shows how the sanding progression works.
Here is how the process is completed:
Gather Your Supplies:
You can either opt for the DIY kit (which will include everything you need except for the spray bottle, masking tape, and microfiber cloths). You can go old-school, and collect all your supplies individually, which include masking tape, automotive soap, a spray bottle, gradual grades of sandpaper – from 600 to 3,000-grit) and polishing or cutting compound.
1. Protect your Work Area:
See above for what to do in this step.
2. Wash and Rinse:
Using automotive soap, mix in a wash bucket and use a wash mitt to completely clean the area. If you’re using a restoration kit, use their soap (if included).
3. Wet Sand the Headlights:
The next step is to wet sand the headlights as described in the video above. It is really important to determine the grade of sandpaper based on the amount of fogging on the headlights. If you use the kit, you’ll use sanding discs.
The key is to progressively step up the grit (with the number – not the hardness). I’ve always found using a side to side pattern (with the first grit) then swapping to an up and down motion with the next grade works best. This helps to reduce scratches.
4. Apply Polishing Compound:
Once you’ve completed the wet sanding process, the final step is applying a polishing compound. This helps to remove those scratches by applying in a circular pattern. It’s important not to rush this process. Let the cutting compound and polishing agents slowly and gradually remove those scratches and other crud remaining.
Benefits of Protecting Headlights with Ceramic Coatings

Improved safety and night vision
It might appear obvious that the only reason to clean your headlights or replace headlight bulbs is so that your night vision is improved. And, you’d be correct. Completing this process is mainly for improved safety and the ability to fully illuminate the roads you drive. It’s especially helpful in areas that are poorly lit, like single-lane highways, mountain roads, and other outlining areas.
Protects headlights and maintains visibiltiy
But what about after you’ve done the hard work? Protecting your headlights with ceramic coating is a brilliant idea and a great way to maintain visibility on those poorly lit roads for years. The best news is that you don’t have to complete the headlight correction to do this.
For those with newer cars, trucks, or SUVs, being proactive by applying a DIY ceramic coating to your headlights, turn signals, and fog lights will keep them from fogging up for years.
![[EXPLAINED] How Much Does Ceramic Coating Cost and Is It Worth It?](http://avalonking.com/cdn/shop/articles/97F438FD-8651-4107-8C5E-F0EC1A1A094F_1000x.jpg?v=1651076367)