Skip to content

We love DIY solutions to fix things – which is mainly why we created our DIY ceramic coating. Our philosophy is simple – to empower people to do things themselves with a high-quality solution to common automotive issues. But sometimes, things get a bit too shade-tree for our liking.
Such is the case with the concept of the myth about whether toothpaste wipes away scratches on your car. With all due respect, this is pretty much you’re prototypical backwoods solution to fixin’ shit.
It’s kind of like using duck-tape to fix a flat tire. Yeah – it’s that bad.
But you know, I’m not going to make a claim without putting out the facts to back up my opinion – so, let’s break down a few reasons why toothpaste (even that extra strength tartar control stuff that helps to defeat the cavity creeps) isn’t your best option for filling scratches that occur on your daily driver. We will also explain what tools are best for removing surface scratches and introduce a few DIY tips.
What is in Toothpaste that Helps Remove Scratches?

Toothpaste works great for fighting the cavity-creeps, but not so awesome for removing scratches on automotive paints. Toothpaste is formulated with abrasives that act as the cleaning and polishing agents that makeup about 40 percent of the total ingredient listing.
Most of these abrasives are made from silica or chalk including dicalcium phosphate, calcium carbonate, sodium metaphosphate, zirconium silicate, and calcium pyrophosphate. It basically acts as light grade sandpaper, and when it’s applied to a microfiber cloth with a little water, acts in a similar method for helping to remove scratches.
Toothpaste helps to sand down uneven surfaces of the top coating of the material it’s applied. By cutting into the surface, it can fill those small gaps or scratches. The problem is that the toothpaste method of scratch-filling is mainly beneficial on soft surfaces, such as DVD or CDs. It’s not as efficient on harder surfaces, like clear coats on automotive paint.
What are the Challenges in Removing Scratches from a Car?
Before you attempt to remove a scratch, you’ve got to first identify the type of scratch. This introduces the first challenge associated with removing scratches from a car – assuming they are all the same. The truth is, there are multiple grades of scratches, each of them with their own removal process.
How to Identify a Car Scratch
A scratch is caused by a hard material cutting into a softer material. How deep that scratch embeds in the surface will determine the level or type of scratch. Some thin scratches can be easily buffed out with a polishing or cutting compound, while others are deeper that will require sandpaper or more aggressive methods of removing them.
So – let’s break down the top four scratch types found in automotive paint surfaces.
Clear Coat Scratch
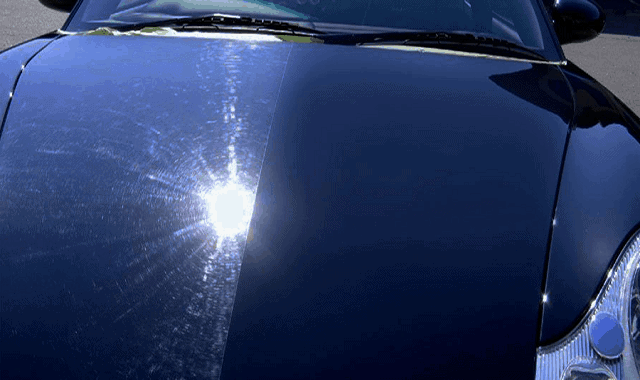
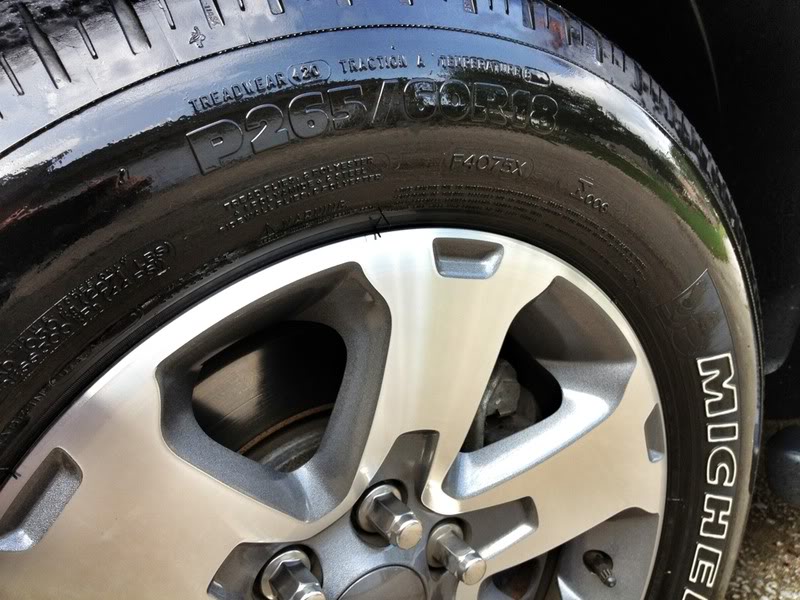
The first ‘level’ of autobody scratch is a simple clear coat scratch. This occurs in most cars, trucks, and SUV’s across the globe every day. These types of scratches can be caused by multiple sources, including dirty towels, microscopic levels of dust on the surface, even simple car washing techniques. They are quite difficult to see, as they typically are microscopic in depth. However, by looking at the surface at an angle, the light will display the imperfection.
This type of scratch is also called a swirl mark. Most of the time, they are caused by poor car washing techniques, using a dirty wash mitt or towel to wash and dry the vehicle. However, they can also be caused by using automated car washes, as these facilities use industrial-strength materials that are quite abrasive.
How to Remove Clear Coat Scratches

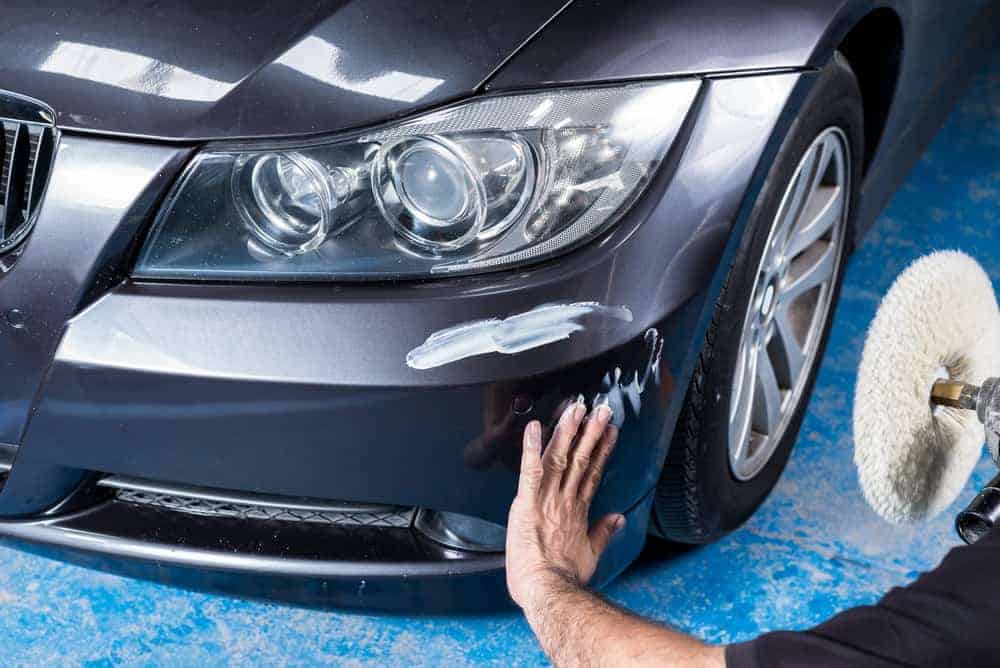
The most popular method of removing a clear coat scratch is using a polishing or cutting compound with an electric buffer. In this method, you’re basically cutting into the clear coat to level it out, until the scratch is removed or filled by the polish or clear coat residual.
If the scratch is deep into the clear coating, more aggressive methods of paint correction will be required. In most cases, this starts with using light-grit sandpaper, following with polish to fill those light scratches.
Embedded into the Paint
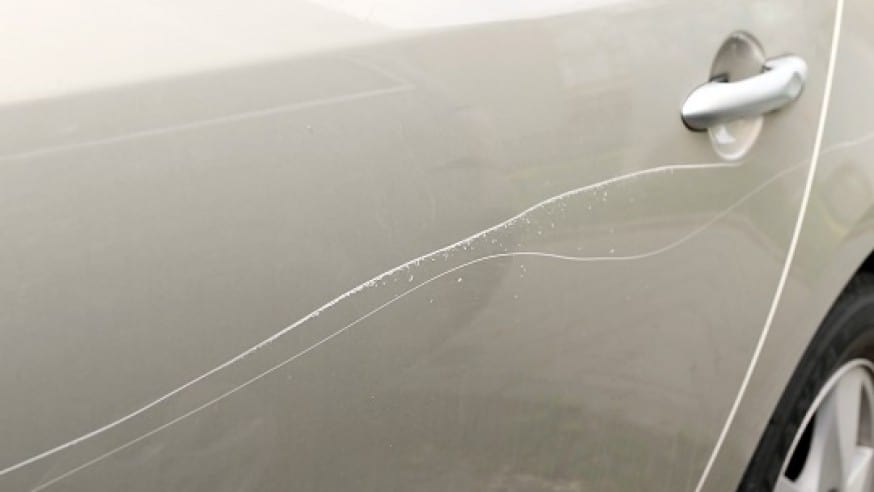
The next type of paint scratch is when it penetrates the clear coat. This can be identified by first determining if there is another pigment or ‘color’ at the bottom of the scratch. If you can’t see “primer” or bare metal, then it’s cutting into the bare paint.
The problem is that these types of scratches can’t be easily removed. It’s more of a ‘cover-up’ process, by polishing them down to the point that they are hardly noticeable.
How Paint Scratches are “Repaired”
When the scratch cuts into the paint, you’re pretty much screwed. Unless you are OK with removing the entire clear coating in that section, the only solution you’ll have is trying to cover up the scratch. This is done by aggressive cutting compounds and polishing with an electric orbital polisher.
The other option is to sand the area down to the paint – but this is very tricky, as once you reach the paint level, it’s easy to continue into the primer. This is typically where using touch-up paint then applying a clear coat is the only option to fix it.
Scratch Cuts into Primer
Like the scratch above, when you can see primer at the bottom of the scratch, the simple DIY fix goes out the window. It certainly can’t be fixed with toothpaste. The solution to this type of scratch is taping off a section, sanding down to the primer of that section, applying a few coats of matched paint and clear coats.
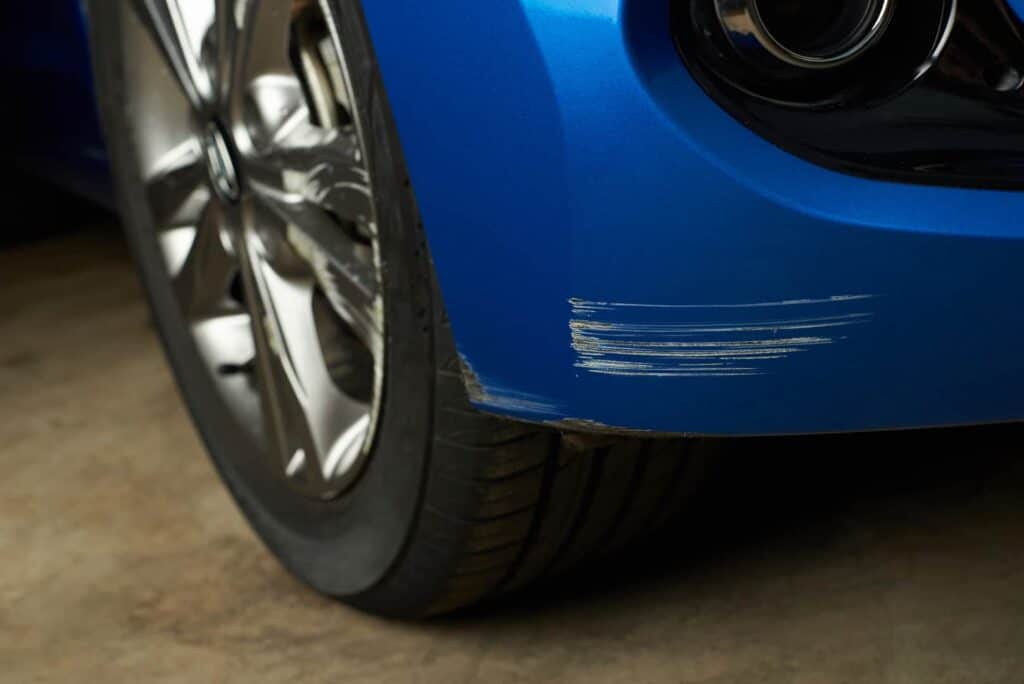
Scratches Down to Bare Metal
This is the type of scratch that requires immediate attention. Some DIY enthusiasts will purchase a clear coat and apply to the scratch to ‘protect it’ from exposure to the elements. The main problem here is that this typically traps the moisture of other contaminants under that scratch, which leads to oxidation – and then the formation of rust.
Why Should You Fix a Scratch ASAP?
Once you discover the scratch, it’ important to repair or protect it as soon as possible. There are a few reasons for this. First, if the scratch has penetrated the clear coating, it will expose the soft and susceptible materials to oxidation, which as we said above, leads to rust.
There are two ways to tackle scratch ‘repair’.
Preservation
The first method used by automotive enthusiasts is to preserve the scratch or protect the vehicle from future damage. This mindset provides you with the best and quickest way of reducing the potential of oxidation and rust-buildup.
In most situations, the car owner will use a clear coat spray can to quickly fill the area. The main issue with this method is that overspray can cause dirt, debris, and other contaminants on the other areas on the paint surface.
A second method for preserving a scratch is by applying a wax or paint sealant. This will ‘fill’ the scratch with a hard layer of protection, that is easier to remove than a ceramic coating or another semi-permanent layer of protection.
Correction
Paint correction is the other mindset for resolving a scratch. With this process, you’re going to implement a step-by-step process to remove the scratch from the vehicle. Essentially, paint correction involves high-speed buffing, using an orbital polisher to cut into the impacted area.
This process can be completed on scratches that do not penetrate the clear coating. It’s a multiple-step application of cutting compounds and polishes, that helps to even the surface, fill any imperfections, and remove the visual appearance of the scratch.
How to Complete DIY Paint Correction

If you’ve determined that using toothpaste to fill scratches is not a worthwhile investment in time or effort, it’s probably best to move forward to a proven method – paint correction. There are some automotive detailers who swear that paint correction can ONLY be completed by expertly trained individuals. And for the most part, they are correct.
Optimal results with paint correction will be produced by those who are trained and use the best materials or techniques. However, it is possible to complete some DIY paint correction without excessive training.
We wrote a rather detailed article that focuses on DIY paint correction. For simplicity sake, here is a brief recap of this article, with the steps you can follow to attempt repairing small scratches if you’re so inclined.
DIY Paint Correction for Starters
Noted below are the general steps for removing minor scratches or swirl marks on your paint. Any other type of paint damage should be repaired by a professional detailer or autobody expert.
Step 1 – Prep Work
Before attempting to remove any scratches, you need to prep the vehicle surface first. This includes removing any existing polish or wax on the surface. To accomplish this, follow these general steps:
- Wash your car using the two-bucket method. If you’re going to remove swirl marks on your vehicle, it’s best to complete paint correction on the entire vehicle. So, start by washing the car the right way.
- Use a clay mitt or clay bar to remove microscopic imperfections. This can also help to remove wax and polishes. As an added benefit, use an iron removal spray to help expedite this process.
Step 2 – Leveling
Paint correction is a three-step process – leveling, polishing the surface, and then protecting. The leveling phase includes using an orbital polisher, several microfiber pads, and a good cutting compound. This video will show you how this process is completed.
Step 3 – Polishing
Polishing is the third part of the paint correction process. This step should be completed by using buffing or polishing wheels and LOTS of fresh microfiber pads.
For the polishing step, use this method for best results:
- Always start with a brand-new polishing disk and pad. This will ensure you don’t spread excess cutting compound ‘residue’ while you’re polishing.
- Apply in a pattern that follows the body lines of the vehicle (they show an example of this in the video).
- Keep changing the pads frequently – and with each coat of polish. It’s generally a good idea to apply 2 to 3 coats of polish on a recently leveled clear coat.
Step 4: Protecting
If you’ve spent the money, time, and resources to repair those surface scratches, it’s a good idea to protect your vehicle from future scratches. There are generally a few different options to consider:
Option A: Car Wax or Paint Sealant
Good car wax works quite well to protect the vehicle surface from future scratches. The only problem is that it only lasts about two months, then you’ll have to remove and reapply. The second easy to apply paint protection product is going with the paint sealant route. This product has a life expectancy of up to a year in most cases.
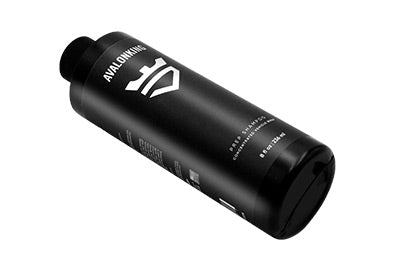
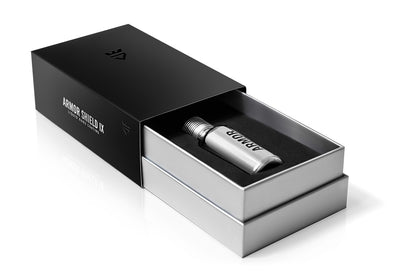
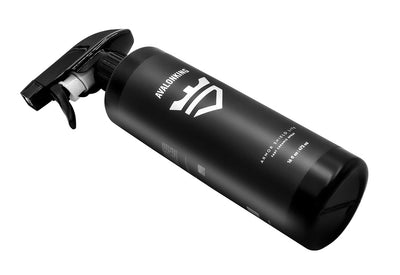
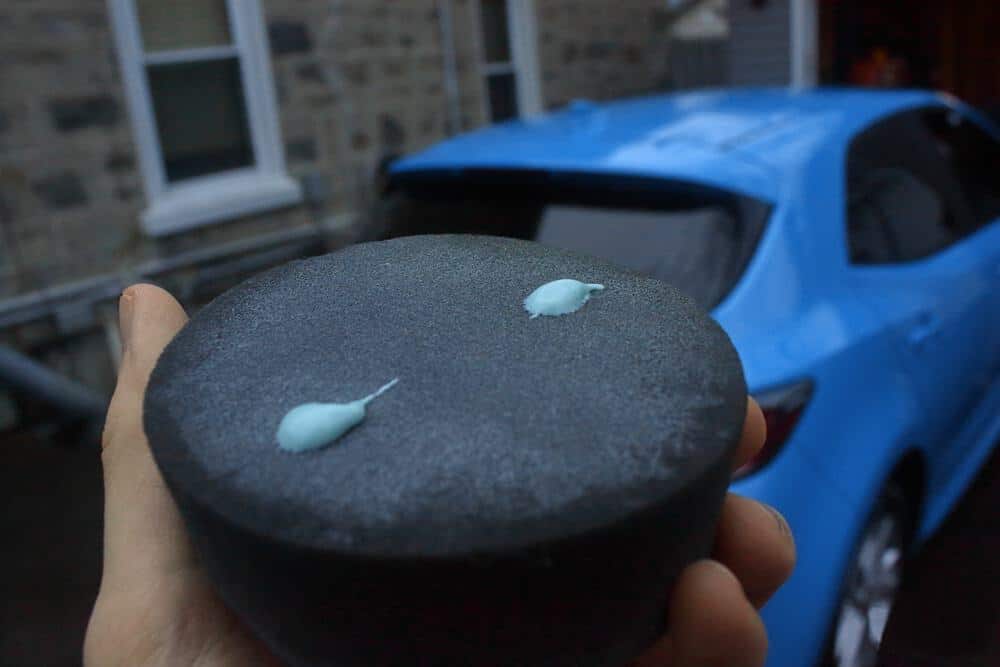
Option B: A High-Quality DIY Ceramic Coating
A DIY Nano-ceramic coating provides a hard layer of protection, that fills in the microscopic peaks and valleys found in the paint surface. It’s also the best way to extend the lifespan of your paint. Further, a professional-grade DIY ceramic coating can last up to five years.
Wrapping it Up
We can pretty much put the kybosh on whether using toothpaste to fill scratches on your ride is practical or even a good idea. If you’re going to attempt to repair those minor scratches, your best option is the polishing compound method.
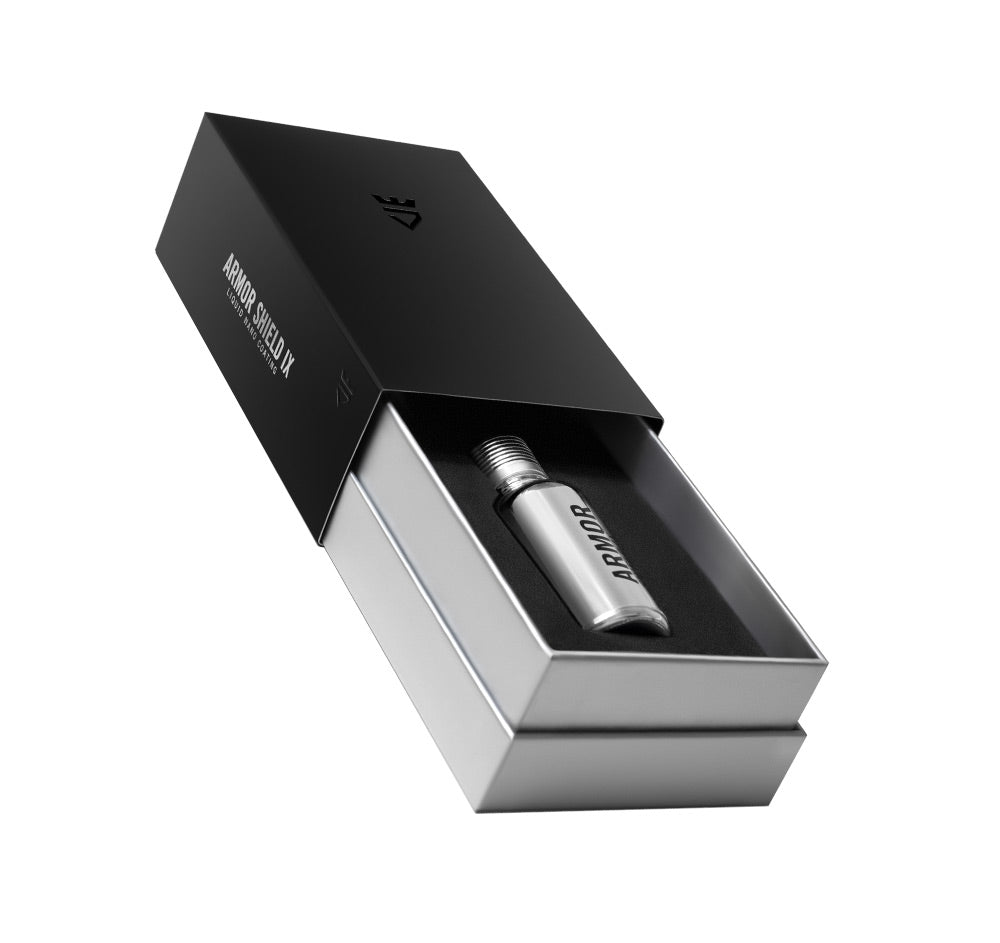
Not only does this do a better job of filling those imperfections, but it also helps to set yourself up for a brilliant shine, that can be protected by a ceramic coating like Armor Shield IX.